Creating a zip file via Eclipse with no directory structure.
CS314 requires to turn in your files for programming assignments in a single zip file.
This page explains how to create such a zip via the Eclipse IDE.
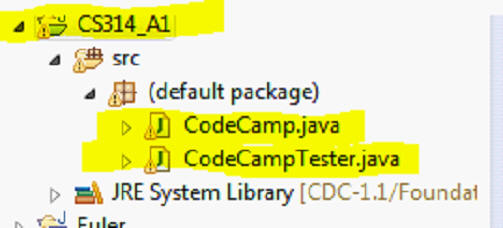
The files in this example are for CS314 assignment 1, code camp.
We have an Eclipse Java project names CS314_A1.
To create a zip named a1.zip with the CodeCamp.java and CodeCampTester.java files in it:
With the project selected click File -> Export. The
following pop-up window will appear.
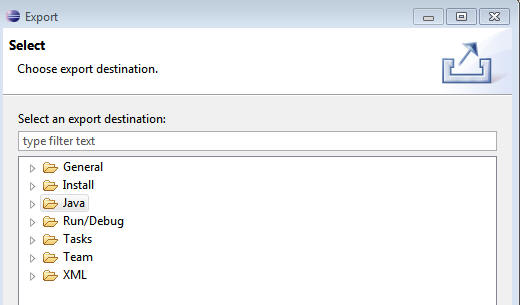
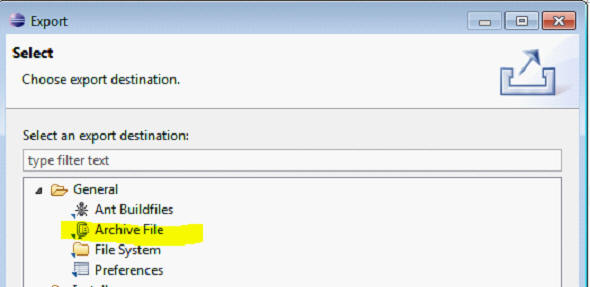
Expand General and select Archive File
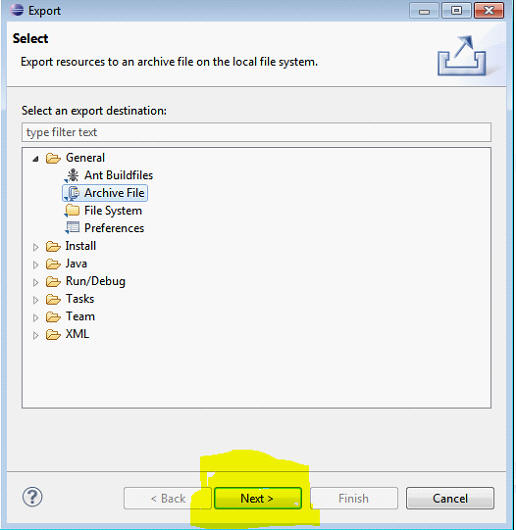
Click the Next button.
In the next window:
- uncheck all directories on the left
- navigate to the directory with your source code
- uncheck all directories in the left hand window.
- check the proper source code files in the right hand window. For assignment 1, CodeCamp.java and
CodeCampTester.java
- ensure Save in zip format is selected.
- ensure Create only selected directories is selected
- name the file a1.zip
- click the browse button to ensure you create the file in a location on
your system you can easily find and access
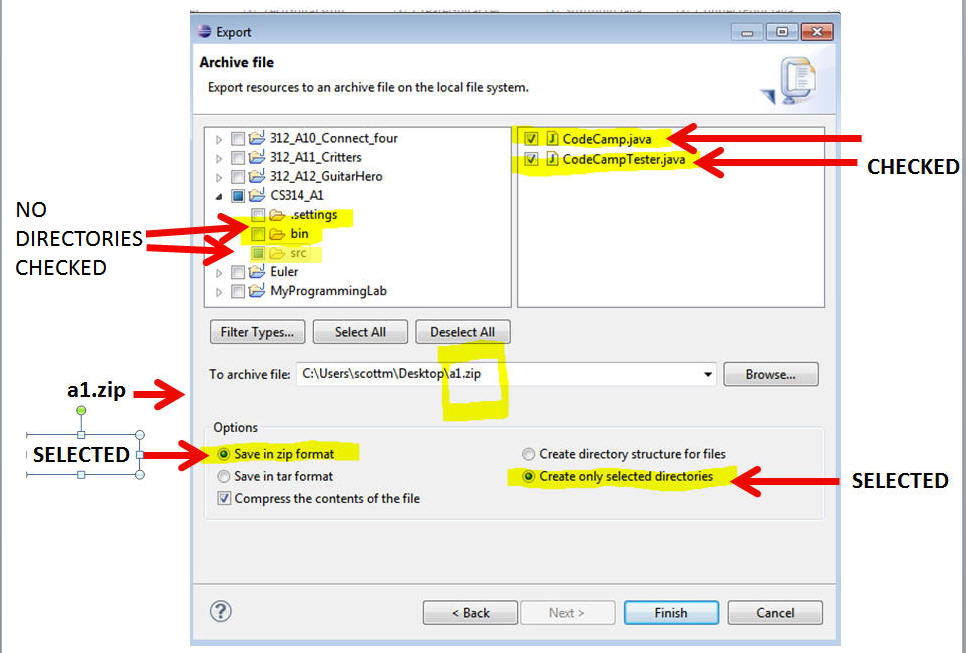
NOTE: IN THE ABOVE DRAWING THE src
DIRECTORY IS NOT CHECKED. A small box appears because one or more of the files
in the src directory are included in the zip. The box is okay. A CHECKMARK IN
THE src DIRECORY IS NOT OKAY. THAT MEANS THE WHOLE src DIRECTORY STRUCTURE IS
BEING INCLUDED.
When all the proper selections are made click the Finish button.
You can and should check the file your created by unzipping it in a location other than the original directory. Check the files in the zip are the correct ones.