How to add a jar file to an Eclipse project.
This page shows how to add a jar file to an Eclipse project so they code in that project may use the code in the jar file. In this example the Eclipse project name is WatorWorld and the jar file is name A4.jar
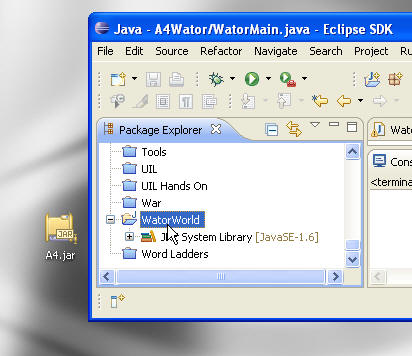
1. Drag the jar file into the project folder in Eclipse.
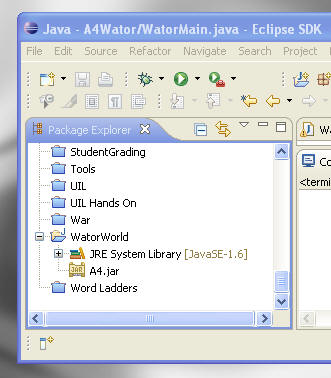
The jar file will now show up in the project.
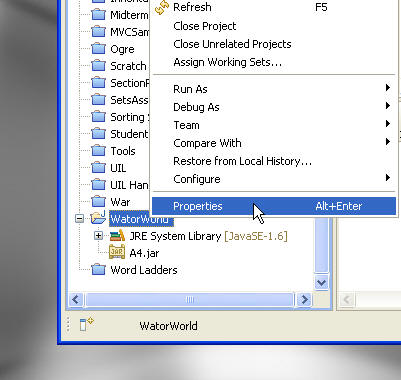
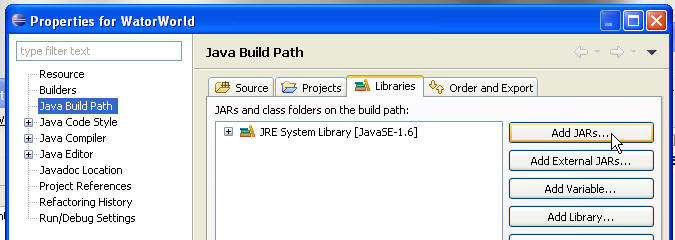
2. Right click on the project after you have added the jar and select Properties.
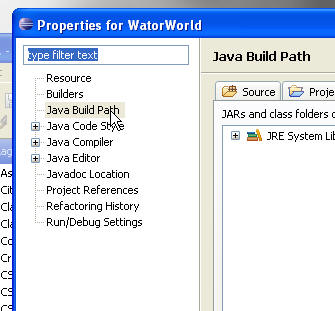
3. In the window that pops up select Java Build Path.
4. Click on the Libraries tab and then click the Add JARs ... button.
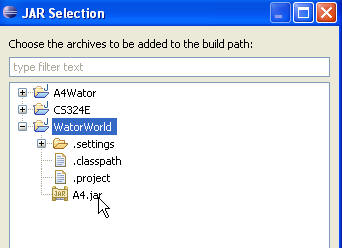
5. In the window that pops up expand the project and select the A4.jar file and click the okay button.
6. After adding the jar the:
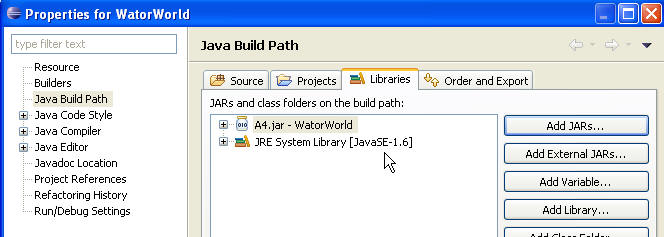
7. Close the properties window. You will now be able to reference any classes in the jar. If those classes are in a package you will have to include an import statement for that package. In the example the classes in the A4.jar file are part of the a4Shell package so the statement
import a4Shell.*;
will no longer cause a compile error.