Transferring Files #
To transfer files to and from the CS department’s lab machines, we will use a file transfer protocol named SFTP (SSH File Transfer Protocol).
On macOS and Linux, you can transfer files over SFTP using the
scp command. However, the command can be quite cumbersome and
having a GUI application makes transferring files much easier.
Below are some graphical applications for all operating systems which support SFTP.
WinSCP
This is a free and open-source SFTP client for Windows. It is available for download here. (Be careful of the advertisements at the top of the page)
Using SSH Keys with WinSCP
Make sure you have followed the guide for setting up SSH keys on windows [here](https://www.cs.utexas.edu facilities-documentation/ssh-keys-cs-windows-10).
Next, open the dialog to create a new connection.

Enter the name of a lab machine (linux.cs.utexas.edu
works for this purpose) and your CS username. Make sure
the File protocol is set to SFTP.
Now, enter the Advanced menu. Under
SSH > Key Exchange, move RSA-based key excahnge to
the top of the Algorithm Selection Policy list. This
can be done by selecting it and clicking the Up button.

After than, go to SSH > Authentication. Here, we have
to tell WinSCP where our Private key is located. If you
left it in the default location with the default file
name, it will be called id_rsa and will be in a
directory named .ssh in your Users directory. Select
that file or provide the full path to the file.
Then, you may get an error that WinSCP only supports PuTTY style keys. If you are given the option to convert it to a PuTTY key, then do so.
If that option is not presented to you, you can sometimes
make WinSCP show it to you by clicking the
Display public key button. This is the dialog you
should see:

Once the key has been converted and selected, you are done in the Advanced settings and you can connect to the lab machine. You will then be prompted for the passphrase associated with your key, if you have one.
Once connected to the remote machine, you will be provided with a split view. One side will be the files on your personal machine and the other side will be the files on the CS machine. You can simply drag-and-drop files between the two sides of the window to start transferring files.
Cyberduck
Cyberduck Download (Free version)
Cyberduck allows you to transfer files between your local computer and remote machines. It is available for both Mac and Windows.
Simpler UI than FileZilla and, in my experience, more intuitive to use alongside with the Mac’s Finder.
Only downside is everytime you quit the app it asks you to donate. If this drives you insane, then consider using FileZilla (or just donate I guess).
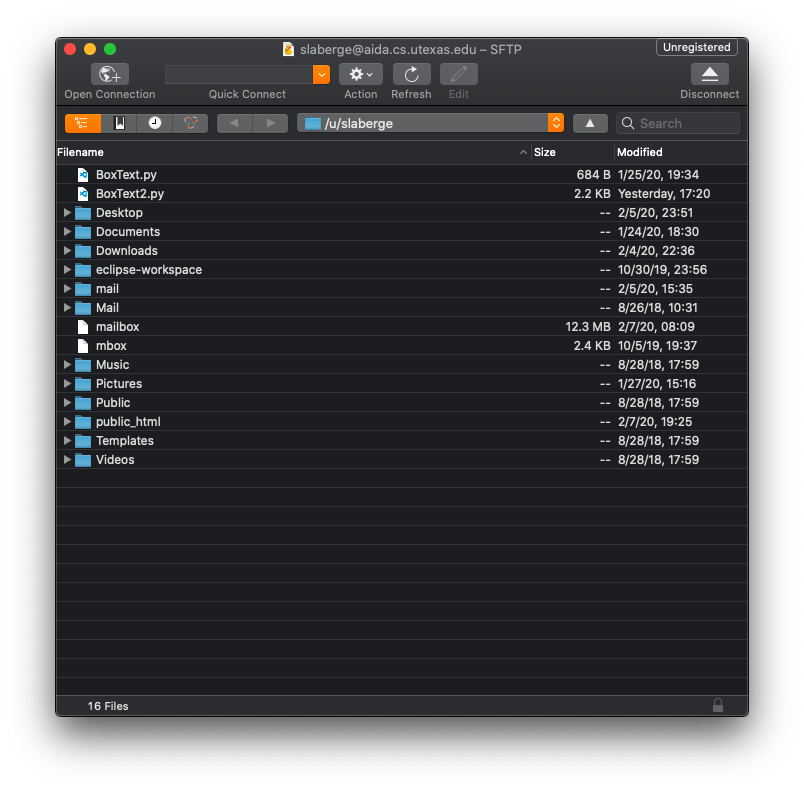
How to Connect to the Lab Machines with Cyberduck
When you first open Cyberduck, you should see a window similar to the screenshot below. Press the “Open Connection” button in the top left to start a new SFTP connection.

An open connection menu should pop up. In the drop down, select “SFTP”.

Back in the menu, enter the name of a lab machine followed by .cs.utexas.edu (like when you were SSHing). Then, enter your CS username and password in their respective fields.

If you are using SSH keys, select your key file from the dropdown. If you used the default key location (like specified in the guide, select id_rsa).
You can now drag and drops files between the Cyberduck file viewer and your Mac’s Finder.
Linux has many, many good SFTP client applications. One of the most popular options is FileZilla (which is actually cross-platform). However, many Linux graphical file managers, like Dolphin, have built-in ways of connecting to SFTP servers and provide a much more seamless experience.
File Managers
I’d recommend first seeing if your file manager can support connecting to SFTP servers. If it can (and you like the experience), stick to that. If your distribution doesn’t come with a built-in file manager which supports this, the beauty of Linux allows you to just download a different one! I personally really like KDE’s Dolphin File Manager
Many File Managers (Including the built-in file manager
for Ubuntu) will have a Connect to Server option.
To access the UTCS machines with this option, use this
format to connect to the server:
sftp://CS_USER@CS_MACHINE.cs.utexas.edu
For example,
sftp://slaberge@linux.cs.utexas.edu
FileZilla
Otherwise, FileZilla is another good option and you can easily install it using your distro’s package manager. On Ubuntu/Debian for example:
sudo apt-get update
sudo apt-get install filezilla